Beginner Guide: 10-Year-Olds Can Build a Web AR App. So do you!

This article is dedicated to help non technical people who want to dive into web AR, but don't know where to start! You should definitely read this if you fall into one of these categories:
- You are a graphic designer who want to put new elements in your work.
- You are a marketer who need new ideas for your campaign.
- You are an educator who want to use AR to enhance the teaching experience.
- You are a hobbyist who just want to try something cool.
Augmented Images
There are many forms of AR. In this article, we focus on a specific type called Augmented Images. As the name suggested, it means adding virtual elements on top of images. What images, you asked? It can be anything like posters, books, cards, photos, product packages, etc. Look around you, it's everywhere!
Pictarize
Pictarize is a great tool to kickstart an augmented image project. It comes with an online editor where you can drag-n-drop to build AR effects. Once you are done, you can publish it directly. You don't need to install anything. All you need is a web browser. More importantly, it's completely free! You don't even need to pay a single buck to have you AR project posted online.
Launch the Studio
First of all, launch the studio. https://studio.pictarize.com/. You can try it without sign up. But if you want to keep the project, you should register an account, otherwise, the project will be gone after a while.
Create a new project, and in this case a Blank Project.

Target Image
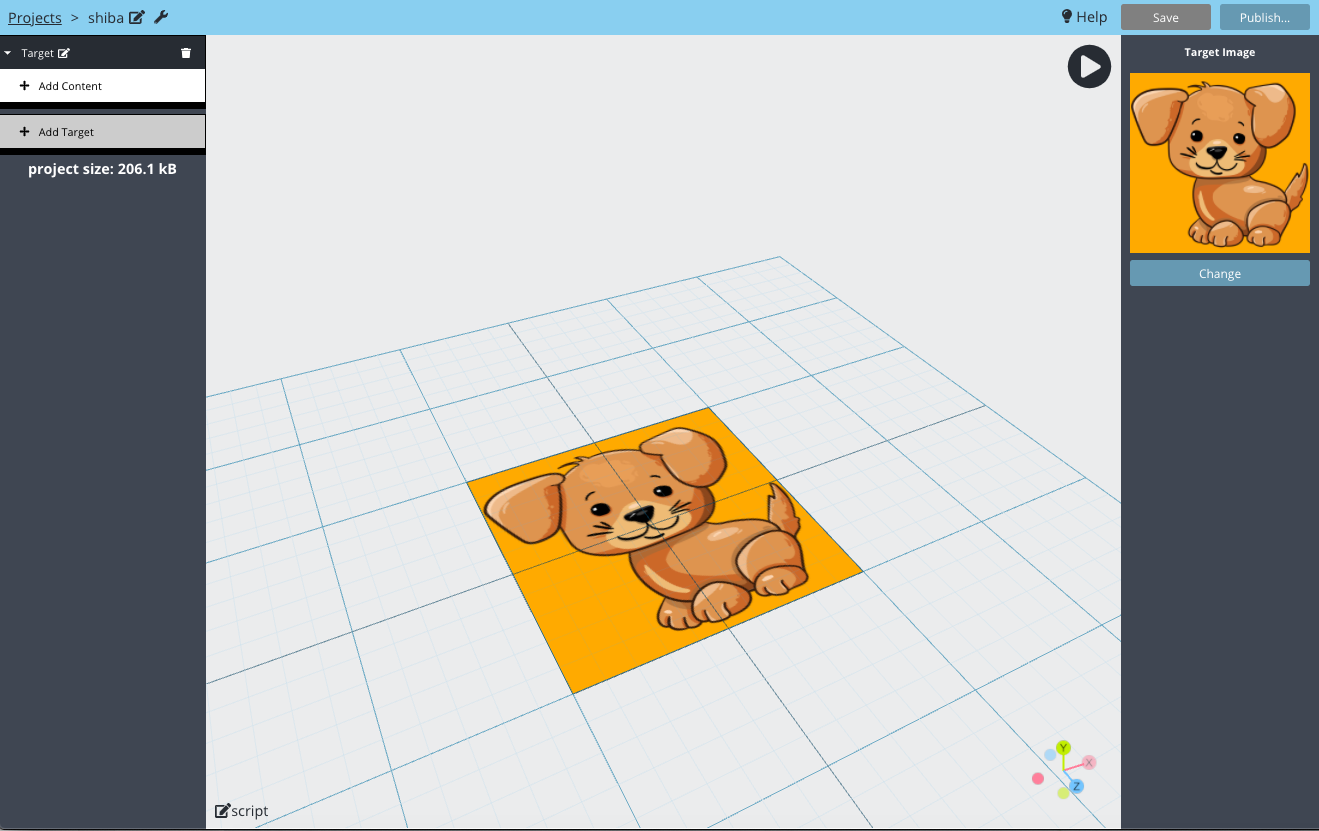
Once you created a project, you will see this editor screen. The 3D environment in the middle is your AR effect - What you see is what you get. You can move, rotate and zoom with your mouse.

The first thing you want to do is to add a target image. Target image is the image that you want your AR effect appear on. You can upload any images. I just found a random puppy image from pixabay.
Building the AR scene
Once you added a target, you will see the image in the center of the scene. Then, we need to add contents on it. There are many types of content that you can add, including 3D models, videos, audios, images and texts. Let's try a 3D model.
So I also found a free 3D puppy model from SketchFab.
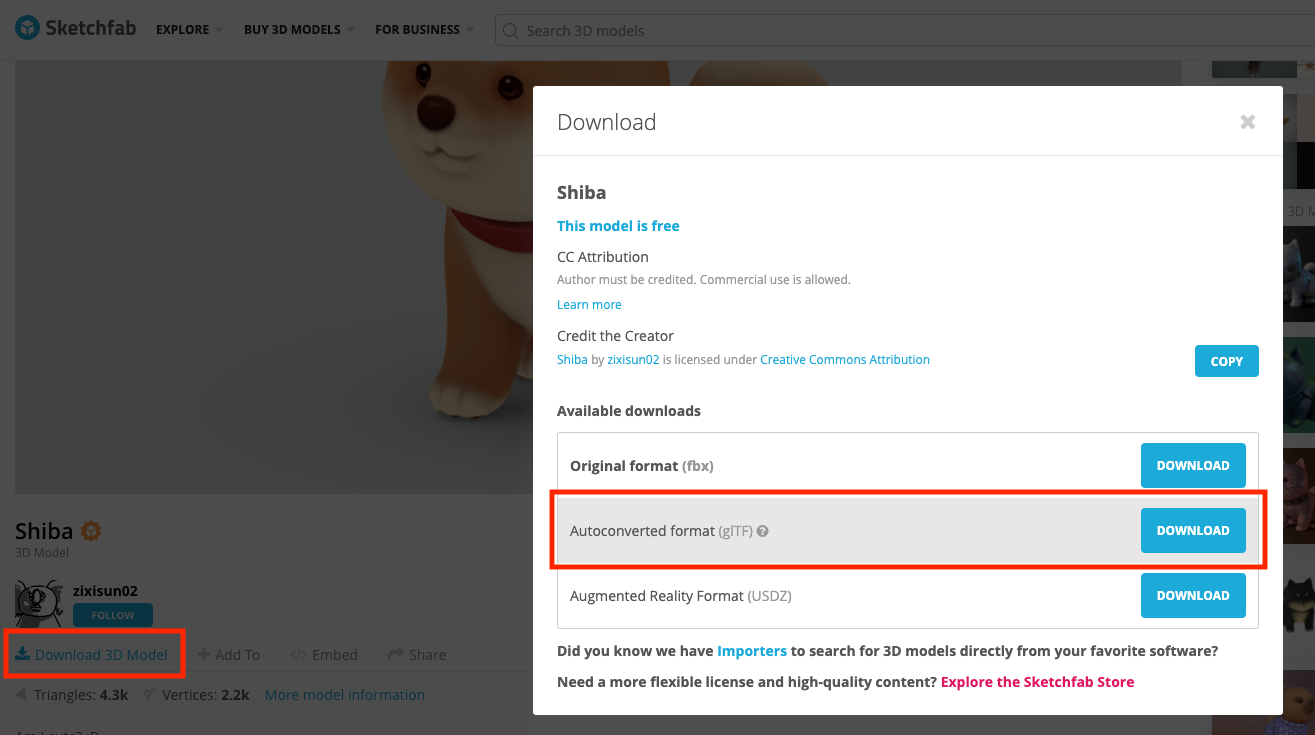
For anyone who doesn't know SketchFab, it's a popular marketplace for 3D models. There is a lot of free models to download as well. Head over to this page, https://sketchfab.com/3d-models/shiba-faef9fe5ace445e7b2989d1c1ece361c, and download the model as "glTF" format. Unzip the downloaded file and you will see a folder containing a scene.gltf, a scene.bin and a textures sub-folder.
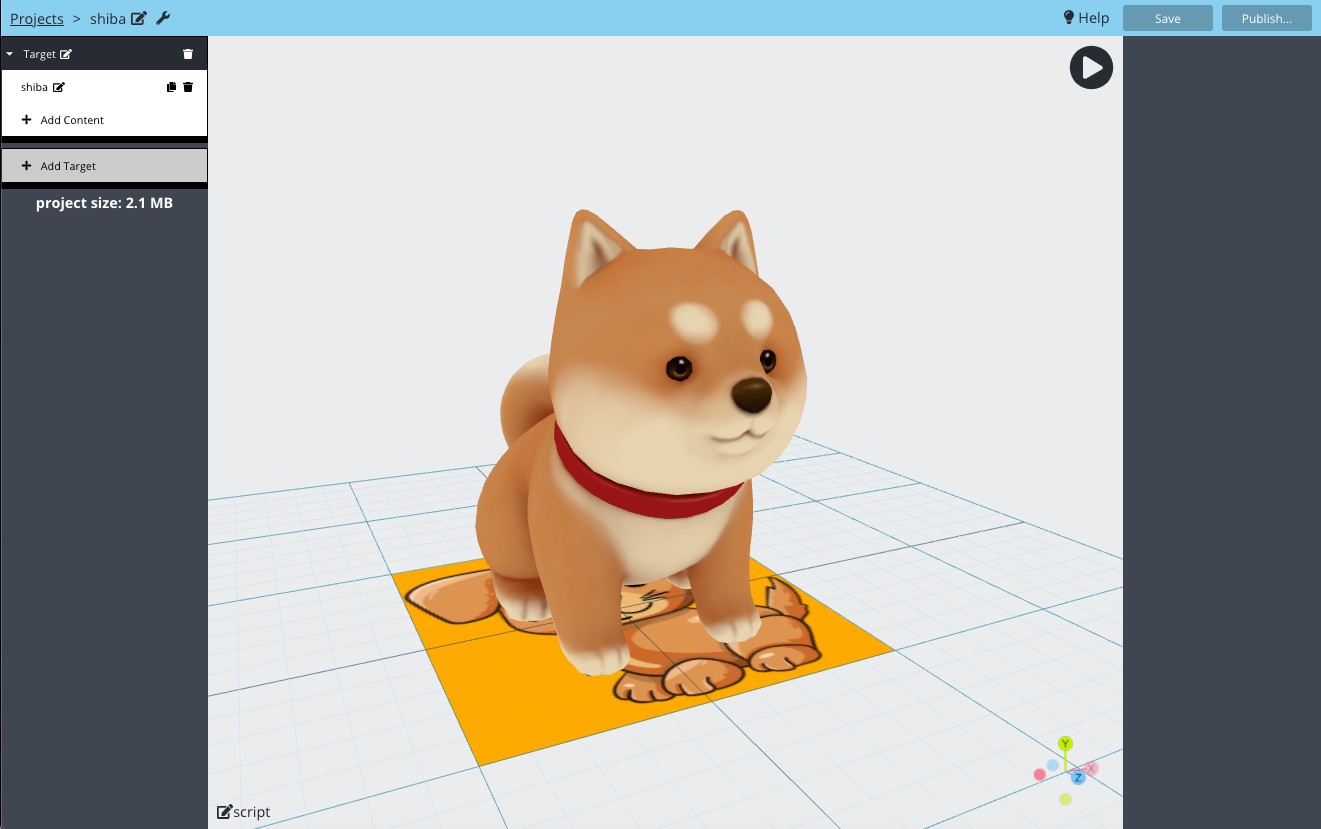
Now go back to Pictarize, and add this puppy into the scene. The step is "Add Content", "Upload Assets", "+Upload", then drop the whole unzipped folder of the model in it. Once you are done uploading, you can then select the model. If you do it right, you should see the puppy on the scene. Noted that the puppy might not be positioned properly like this when you add it. It might appeared below the target image, but you can select it and move it up.
Publish
To keep this simple, we will not add more contents. But you can definitely try more. Now, let's publish the AR scene and play with our mobile phone! It's incredibly simple in Pictarize. Click the "Publish..." button on the top right corner, then click "Build". Wait for a few seconds, then click "Preview".
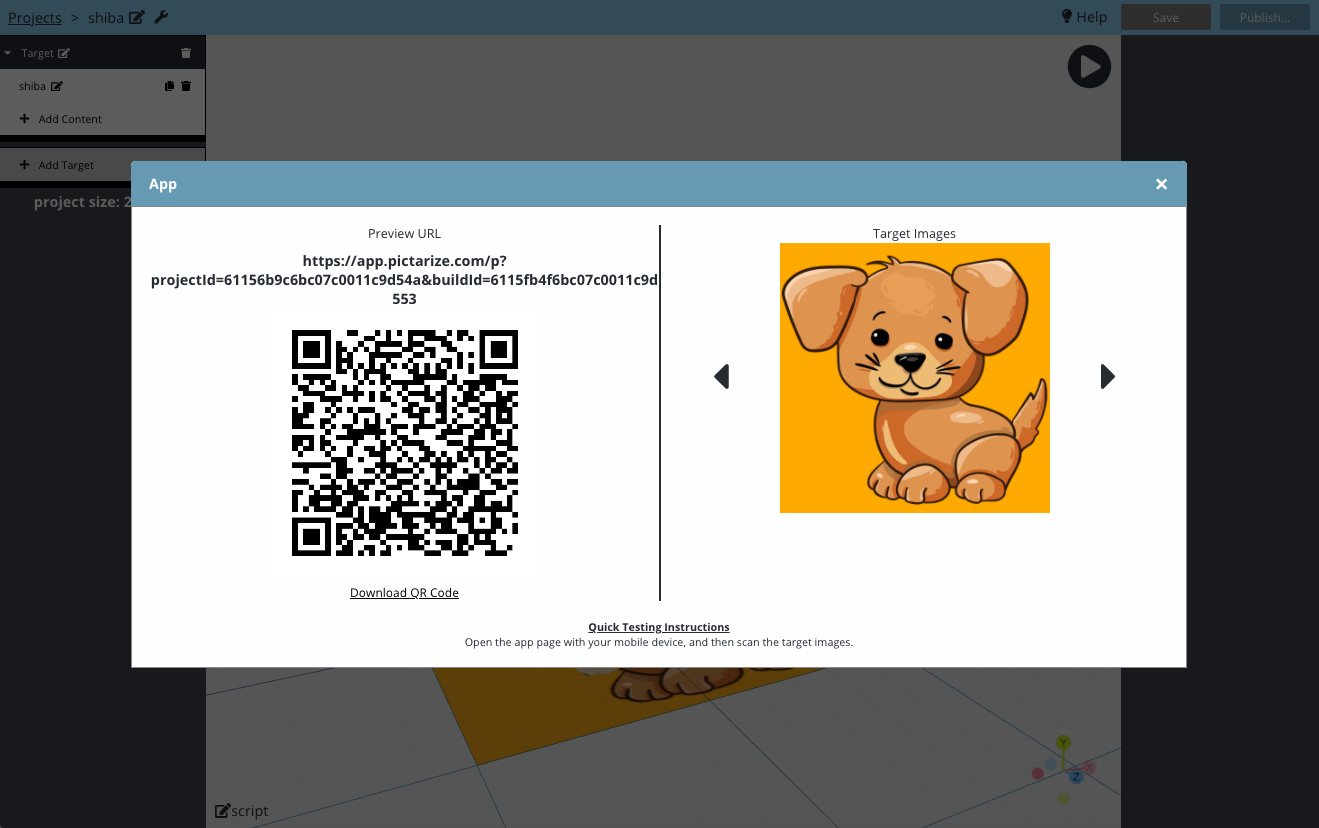
Your app is now ready! You can now use your mobile phone to open this URL. Then look at the target image through the camera. Here is the end result.
You can actually print out the image on paper if you want, or simply look at the image on your desktop screen. You can also try the published app I built here: https://shiba-example.app.pictarize.com.
To make it easier for you to try, scan below QR code to open the app, then look at the image on the right.

Conclusion
I hope you enjoy building this little demo. If you need more inspiration, checkout this article for 10 examples of using augmented images.

I can't wait to see what you are going to build. If you do, please let me know!
